")
I was recently scrolling YouTube when I saw a video by Regular Guy Training LLC discussing Infinity Targets. He pointed out that Infinity Targets cost well over a hundred dollars, but you can make your own DIY version cheaply. It turns out that stable mats are essentially the same material as long-lasting targets. I wanted to try it myself and provide you with some instructions on making your own long-lasting, reusable target.
How to Make Your Own DIY Targets
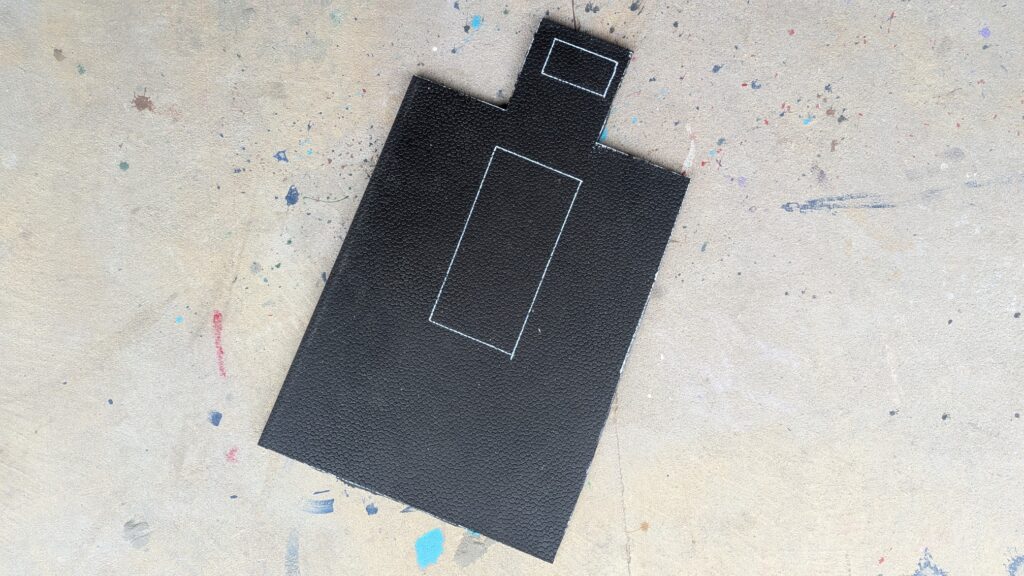
Before we get too deep into that, realize I’m no artist. I put this together with minimal tools right after I worked out. As you can see, my head and chest box are way off. After seeing that I was no Picasso, I ordered a USPSA stencil to just spray paint my targets.
Advertisement — Continue Reading Below
What We Need to Make Targets
First, get a stable mat. I found a 3×4 mat at Tractor Supply. That’s enough to make two USPSA targets for about 40 dollars. From there, I just used stuff I had around the house. I used a carpet-cutting razor knife, a paint pen, and a ruler to create my targets. I got a USPSA document that I clearly couldn’t follow for measurements.
Making Your Own Forever Targets
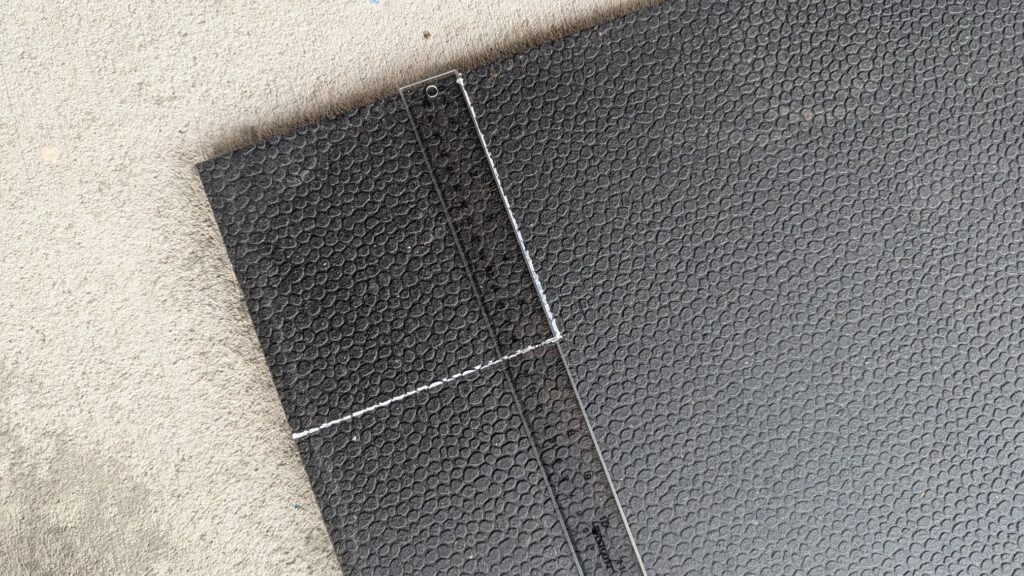
With the mat on the ground, I started at the top of the mat and at the furthest left side. From here, I made the measurements to outline the left side of the head and shoulder, giving me an easy-to-work-with outline. Starting from the top and the far left side reduced my cutting needs.
Advertisement — Continue Reading Below
I used the paint pen because it would stand out on the stable mat. I drew a round outline of the body of a USPSA target, but it’s certainly not a true USPSA target. The edges of the corners of the top and bottom of the target are difficult to cut at an angle with a carpet cutter, so I kept it to a basic rectangular body.
When outlining, I also didn’t stick to strict USPSA requirements. I rounded up or down where it made sense. I wasn’t trying to calculate 5.91 inches on a basic ruler, so I just rounded up to 6 inches; and if a measurement was 17.72 inches, well, guess what—now it’s 17.75 cause that proved simpler.
With the outline down, I brought out the razor knife and started cutting. This was a real pain in the butt. The half-inch-thick mat was tough and didn’t cut easily on the ground. I moved it to a workbench and let portions of it hang off the bench, which meant gravity pulled at the previously cut portions. This made it easier to finish those cuts.
Advertisement — Continue Reading Below
It took a lot of muscle to get it through, and I might’ve been better off with a power tool, like a Dremel or grinder, but I wanted to try this, which most people would have on hand. While tough, it probably only took 20 minutes to cut the target out.
Hit Boxes
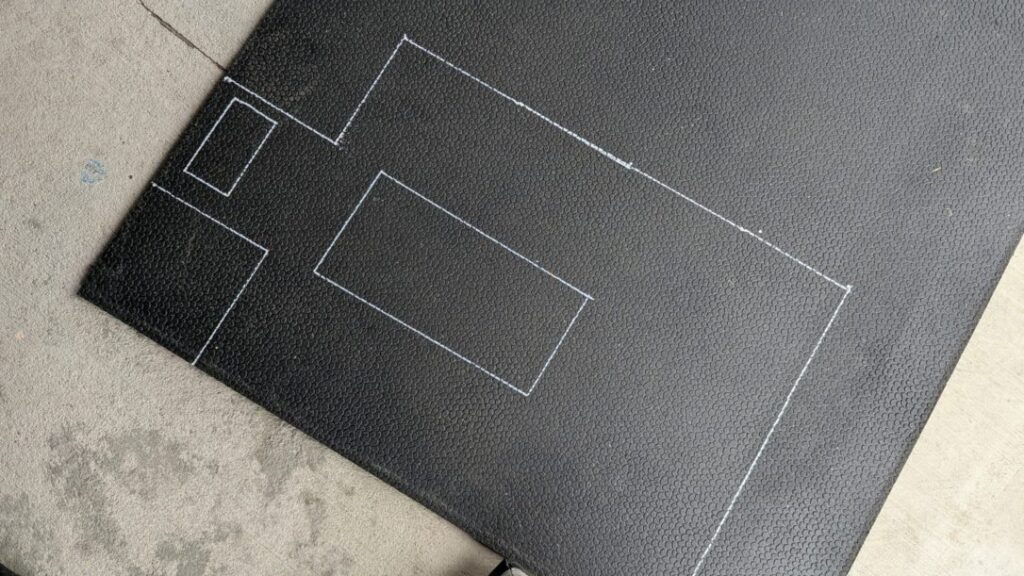
Next, I poorly drew a headbox and A-Zone on the target, off-center and out of square. I did that for illustrative purposes. In reality, you need to dremel those boxes into the target or find some other way to permanently mark them as part of the target.
Advertisement — Continue Reading Below
I plan to use the stencil I ordered with some spray paint, and then a Dremel to make permanent lines in the target. The way these targets work is that when you shoot them, they reseal and heal, and that’s why they last forever. However, that doesn’t make much of a mark for you to judge your hits.
Users have to spray paint the targets to see hits. When a spray-painted target is hit, the hit becomes black, making it easy to judge and score. If you just paint the lines on, you’re unlikely to see them after adding spray paint a few times.
Advertisement — Continue Reading Below
What’s great is that you can replicate any number of targets with these stall mats. The only restriction is your creativity and ability to chop up a stall mat. One 3×4 stall mat is going to make two USPSA-sized targets for just forty bucks.
I can take the scrap and make cheap small targets, gongs, whatever.
Mounting these targets to stands isn’t as simple as throwing some staples in them. You’ll need some clamps—strong clamps, because these targets are heavy. Attach them to two target legs with clamps, and boom: you have cheap, self-healing targets.
Advertisement — Continue Reading Below
Self-healing USPSA targets cost about $160, but I can make two from a $40 mat. That makes it $20 a pop. Not a bad gig if you don’t mind doing a little work.