
For many of us, we struggle to fine-tune our shooting skills. We have been at it for years, and we can’t seem to push past the performance wall we are up against. The obvious solution is to seek professional training and have outside eyes look at what we are doing. This is sometimes difficult for a number of reasons. An easier solution is self-evaluations. This is more than just breaking out a timer or measuring groups. It is a detailed look at our mechanics, and it is done on video. If you want to see what is going on in your shooting, one of the best things you can do is to video yourself. It’s time to shoot on film.
Shoot on Film – Using Video to Improve Your Skills
If you are going to go through the effort to video yourself shooting, I have some suggestions to get the most out of it. If possible, it is easier to have someone run the camera for you, but in a pinch, use a tripod. Take your time and get the most out of it. With that, we need to talk about what you should film.
Advertisement — Continue Reading Below
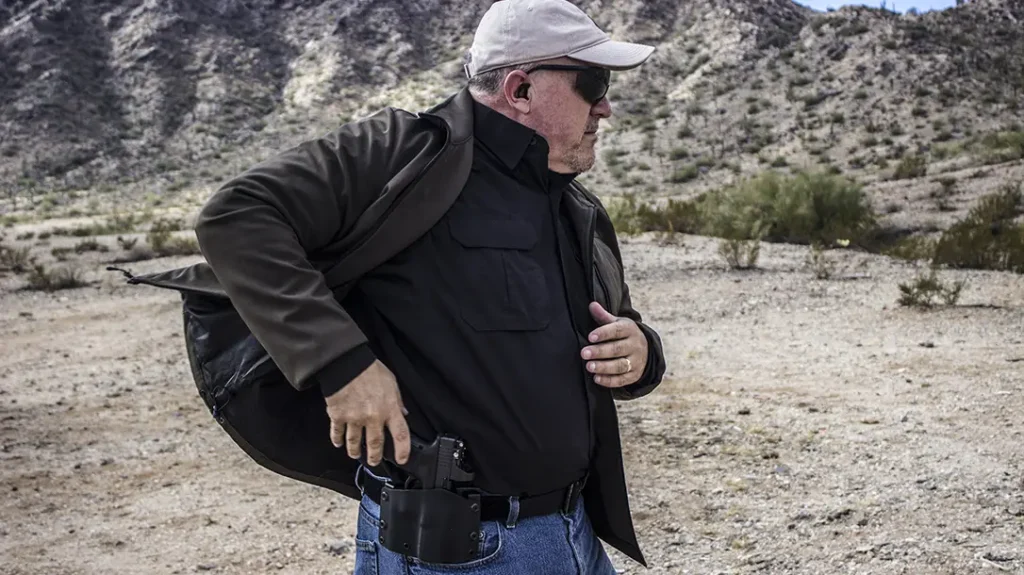
Holster Work
First is a close-up of the holster. You want to get a video of yourself indexing the gun, getting your grip, and drawing it from the holster. You’re looking to ensure you get a good firing grip and that the gun comes straight up out of the holster.
Next up, we want to get a wider shot of our draw to evaluate body motion. There should be minimal body motion during the draw, and sometimes we aren’t aware of it. This angle can also be a way to start looking at our presentation.
Advertisement — Continue Reading Below
The third angle we want to use is from the front. This is additional footage that will allow us to look at our hand travel as well as see if we have any unnecessary body motion. Your hand should travel directly to your gun without any side or forward motion in the upper body.
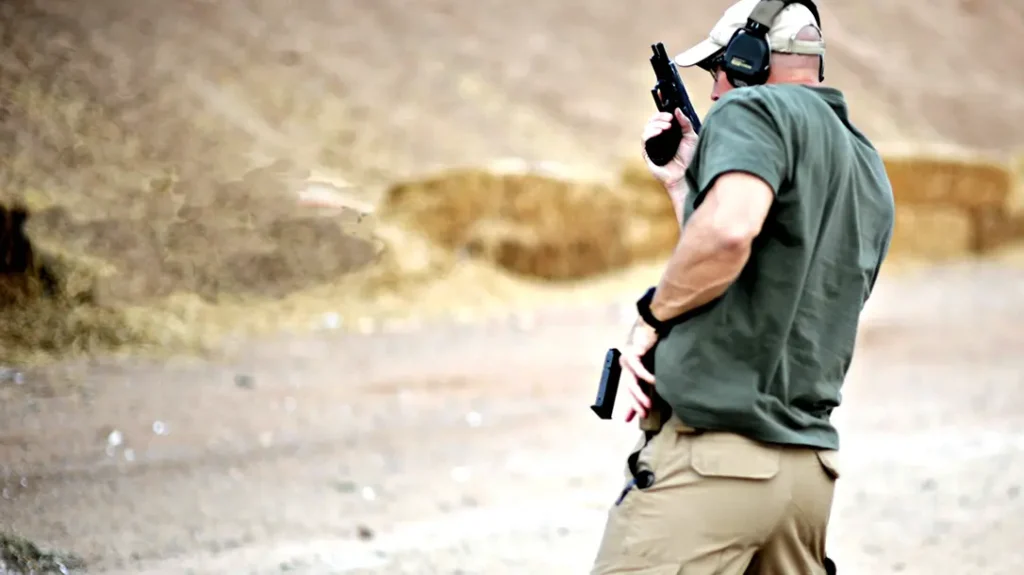
Presentation
The next thing we want to look at is our presentation. We want to make sure it’s clean and like our draw without any unnecessary movement. For this evaluation, we’ll use two different camera angles. The first will be a side angle covering our head to our feet. And the second angle will be from the front, once again covering us from our head to our feet. These two shots together will give you a good look at any issues you may be having with your presentation.
Advertisement — Continue Reading Below

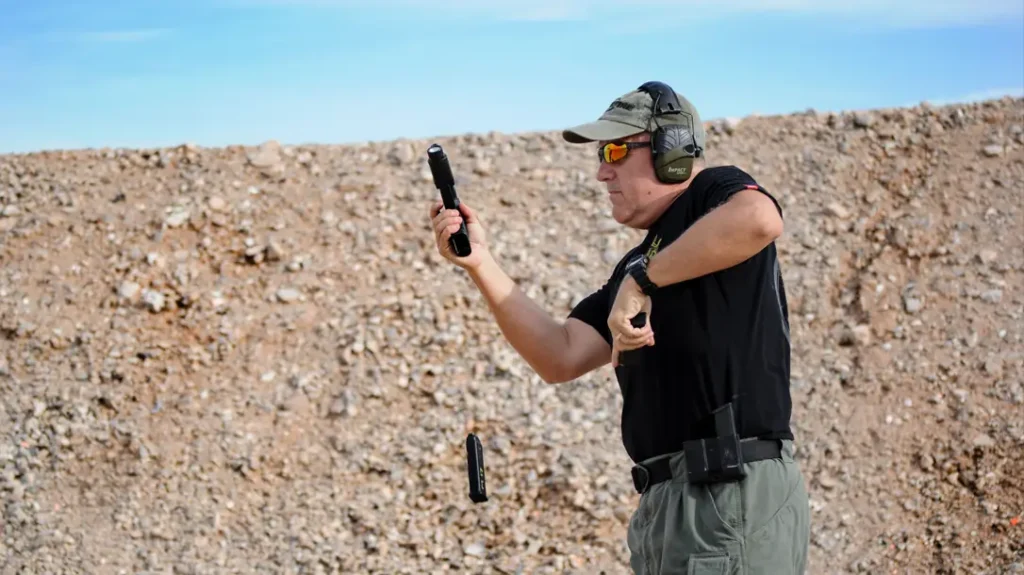
Trigger Control
The final video we will shoot, if you look at our trigger control. For this evaluation, we’ll use two different camera angles. Both of these shots will be close up on the handgun, where you can clearly see your trigger finger. Shoot one from the right and one from the left. We’re looking for a good, clean trigger press and a good reset. Another bonus of this footage is the ability to see your grip. This is especially true when our presentations are fast. We want to make sure we have a solid shooting grip that doesn’t fall apart at speed. It will also allow you to see whether your grip stays true during shots.
Advertisement — Continue Reading Below
Shoot on Film
Take all this footage and carefully evaluate it to ensure every part of the process is solid. Having the ability to examine each of these components closely is an excellent tool for troubleshooting and overall improving your shooting skills.
.
WHY OUR ARTICLES/REVIEWS DO NOT HAVE AFFILIATE LINKS
Advertisement — Continue Reading Below
Affiliate links create a financial incentive for writers to promote certain products, which can lead to biased recommendations. This blurs the line between genuine advice and marketing, reducing trust in the content.