Guns 101 – Single Hand Malfunction Clearances
There are many skills we need to possess to truly master the use of a handgun. While not as sexy as shooting tight groups, malfunction clearances are one of the keys to gunfighting. If your gun malfunctions for any reason, you need to get it back up and running quickly. An even more advanced and critical skill is clearing that malfunction with one hand. You simply may not have the ability to get two hands into the process for a variety of reasons, and the gun still needs to be fixed. Today, we will look at the single-hand malfunction clearance.
When Two Hands Aren’t an Option – Single Hand Malfunction Clearances
More specifically, today we will look at clearing a Type 1 and/or Type 2 clearance. Technically, this clearance is performed by first tapping the magazine. In many cases, the magazine did not seat or has somehow been disengaged. Our second step is to rack the slide firmly while slightly flipping the gun to the side. This not only chambers a round, but it also serves to let gravity help clear any obstruction.
This clearance is simple to do with two hands, but gets a little frisky when we are down to one hand. As I mentioned, there are many reasons why only one hand is doing the gun work now. You may be sheltering someone behind you, you may be injured, or there may be countless other reasons. While it is slightly more challenging, with practice it can become second nature.
Advertisement — Continue Reading Below
Seat the Magazine
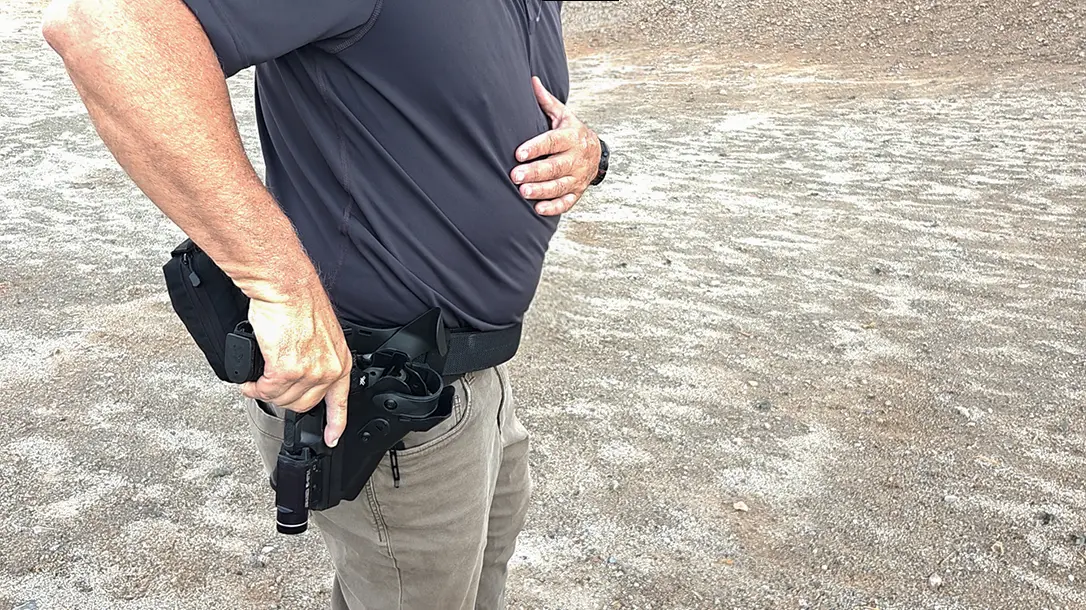
Our first step is to tap the magazine to ensure it is seated. In the one-handed version, I use my knee as a support. You can use any firm surface as well, but I prefer to practice worst-case scenarios. To do this, we lower the gun down towards our waist—all the while, we must maintain good muzzle awareness and control. Once the gun is low enough, we simply raise our knee and drive it into the magazine. This sharp motion will cause the magazine to be driven into the gun.
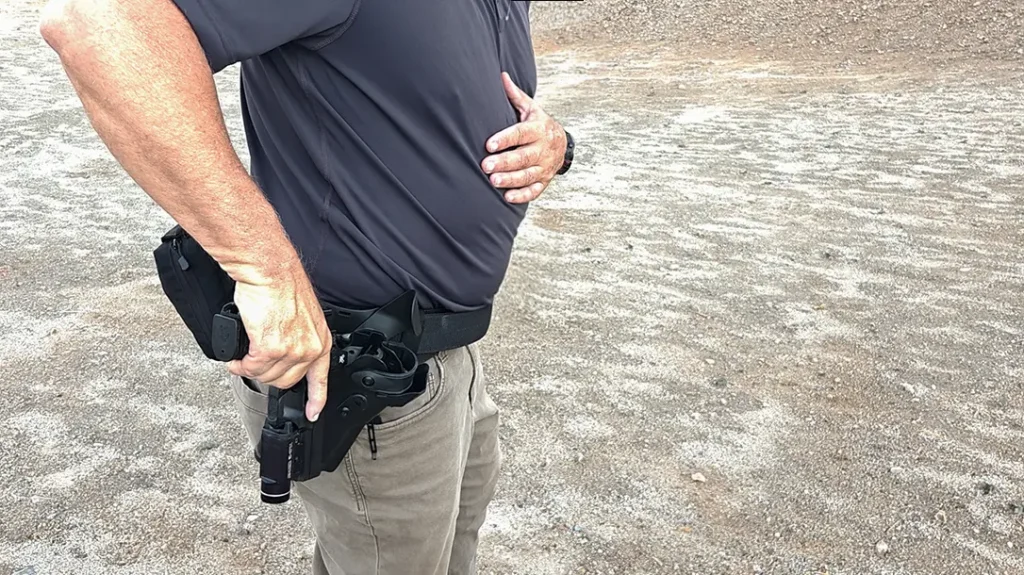
Now we need to rack the slide to chamber a round. In my demonstration, I use my holster. As with seating the magazine, you have a number of other options, such as countertops, chairs, or anything solid. To rack the slide on the holster, we must once again focus on muzzle awareness and management. Once the magazine is seated safely, move the gun towards the holster. You can rack the slide using a mounted optic or the sights on the pistol.
Advertisement — Continue Reading Below
Rack the Slide
With the muzzle pointed down and away, seat the optic or the sights against the edge of the holster. Now, in one smooth motion, drive the pistol forward and rack the slide. It is important to use a firm, fast motion and not ride the slide back. This will ensure that a round chambers and that we do not induce an additional malfunction by slowing the return of the slide.
With these two steps, you have now executed a type 1 or type 2 malfunction clearance. As with all manipulations, this drill will take practice. I encourage you to practice this as a dry drill using dummy rounds. Always practice in a safe place and get in as many repetitions as possible. Our goal is to execute this drill as if it were second nature.
Advertisement — Continue Reading Below
Single Hand Malfunction Clearance
Once you have mastered these motions, I encourage you to practice variations of them. Try tapping the magazine on a counter, for example, and then racking it on a chair. Then find another surface and another.
Handgun manipulations are some of the most overlooked skills in the shooting world. They simply are not as enjoyable as actually shooting. However, if you were serious about a handgun for personal protection, these are skills you must master.


