
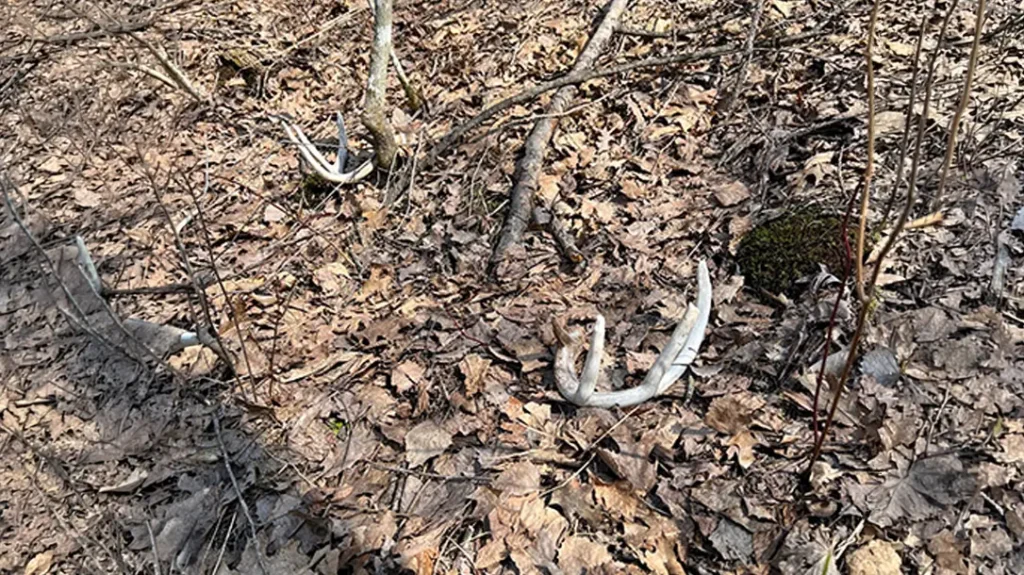
A good shed season doesn’t start when you lace up your boots and head for the first south-facing slope you can find. It starts weeks earlier, behind the screen of your phone or computer, building a plan. If you’re serious about finding more antlers this spring, you need to treat shed hunting like you would a November rut hunt. The guys who consistently pick up bone aren’t just wandering the timber hoping to get lucky. They’re building a map, identifying high-odds areas, and covering ground with purpose. Digital scouting and prep have changed the game, and if you’re not using it, you’re leaving antlers behind. Let’s look at how to build a shed hunting map.
How to Build a Shed Hunting Map – Have a Plan
Before you ever drop a pin, think about what deer are doing right now. Post-season bucks are in survival mode. They’re focused on food, security, and conserving energy. That means your shed map should revolve around three primary hubs: food sources, bedding cover, and the travel routes that connect the two. Open your mapping app. I rely heavily on onX Hunt, where I can overlay the aerial and topo views. What you’re looking for is winter concentration areas, not where bucks were cruising for does in November.
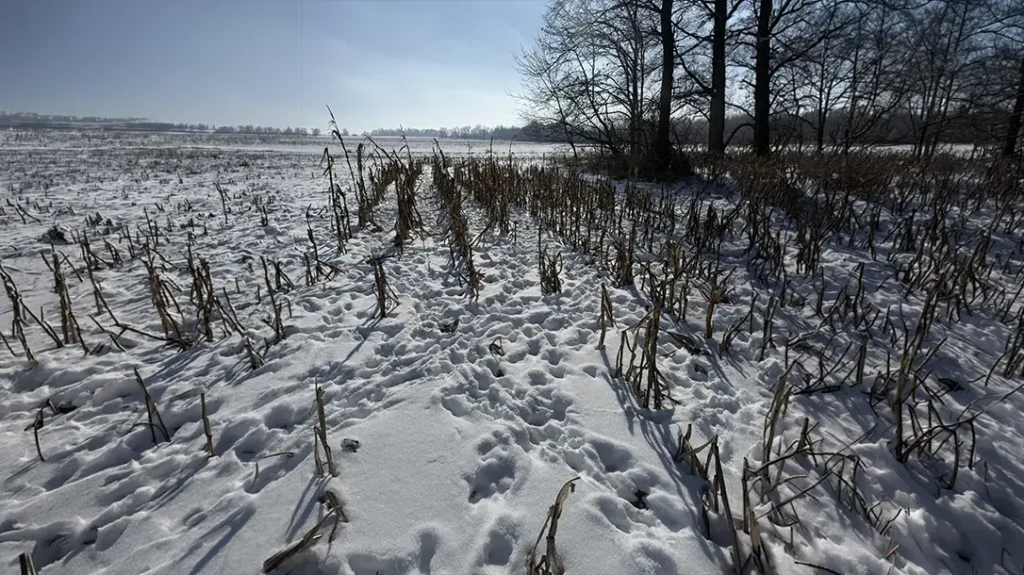
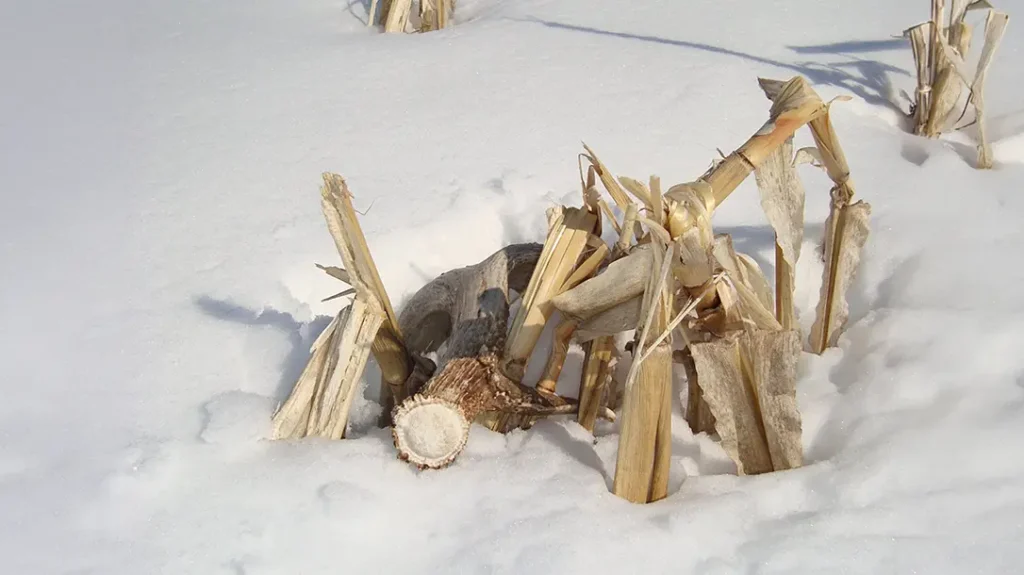
Food is what drives late-season deer movement, and it’s where tired, run-down bucks spend most of their time in January and February. That’s where sheds are going to stack up. Start by marking every viable winter food source on your property or permission ground. Standing beans or corn, cut corn fields, winter wheat, brassica plots, cereal grains, natural browse pockets, and any late-season supplemental sites should all get a waypoint. If you’ve been running a strong winter feed program or planting high-attraction plots like Rack Fuel, those areas deserve extra attention as well. Label every pin clearly so you’re not guessing when you’re in the field. Shed hunting is a numbers game. The more time bucks spend in a location, the higher your odds of finding bone.
Advertisement — Continue Reading Below
Bedding Areas
Once food is marked, shift your focus to bedding cover. Late-season bedding is all about security and thermal advantage. South-facing slopes that soak up sunlight, thick CRP, cedar thickets, hinge-cut bedding blocks, and recent timber cuts are prime real estate. Bucks aren’t traveling miles this time of year. Many times, they’re bedding within a few hundred yards of their primary food source. Use topo lines to locate subtle benches, ridge points, and protected slopes that block prevailing winds. Drop bedding pins and color-code them differently than food so movement patterns start to reveal themselves at a glance.
Now connect the dots. Most antlers aren’t found in the middle of a wide-open field or dead center in a bedding thicket. They’re found along the routes deer use daily. Terrain funnels, inside corners, ditch crossings, fence gaps, creek crossings, and saddles are all high-percentage spots. Topography becomes your best friend here. Saddles between two high points that connect bedding to food can be shed magnets. So can narrow fingers of timber that extend into agricultural fields. Mark these routes clearly. If you’ve found sheds in the past, this is where historical data becomes powerful.
Mark Your Finds
Every shed you’ve ever picked up tells a story. If you haven’t been marking historical finds, start now. Go back through trail cam photos and old pictures and approximate where those antlers were found. Drop a pin labeled with the year and side. Over time, patterns will emerge. Certain bucks favor the same winter zones. Certain travel corridors consistently produce. When you see clusters of historical pins near food and bedding intersections, that becomes a priority walk on the opening day of shed season. That’s how recovery rates climb year after year.
You don’t need expensive software to build a strong plan, but tools like onX Hunt make it easier with property boundaries, satellite imagery, and topo layers all in one place. Even free platforms like Google Earth can help you identify late-season standing crops, logging cuts, and south-facing slopes. Measure the distance between bedding and food. If it’s under 400 yards, you’re likely looking at a tight winter core area. The tighter the loop, the better your odds.
Advertisement — Continue Reading Below
Build a Walking Plan
Once the pins are dropped, build a walking plan. Instead of wandering aimlessly, create a logical loop. Start at the downwind edge of food, work staging areas, follow travel routes toward bedding, and then grid the outer edges of cover before pushing into the thick stuff. Shed hunting pressure matters. If you barge straight into bedding too early, you risk bumping deer that are still carrying antlers. Digital prep allows you to be strategic, covering ground efficiently while reducing unnecessary stress.
When you finally do lace up your boots, make sure the rest of your gear matches your preparation. A quality pair of binoculars, like the Vortex Diamondback binoculars, can save you miles of walking. I glass field edges, creek crossings, and open slopes before ever stepping into them. You’d be surprised how many antlers can be spotted from a distance when the sun hits them just right. Good glass lets you cover ground with your eyes instead of your legs.
Gear Matters
Footwear matters just as much. Shed season usually means mud, thawing ground, and plenty of creek crossings. A comfortable, waterproof boot keeps you in the game longer. If I’m covering dry ridges and crop fields, a broken-in pair of Rocky boots gets the nod. If I know I’ll be cutting through water or sloshing through bottom ground, I’m reaching for Muck boots. Comfortable feet mean more miles covered, and more miles covered mean more antlers found.
Advertisement — Continue Reading Below
If you’re short on time, prioritize high-probability zones first. Look for places where food, bedding, and terrain features converge. Focus on areas where winter trail cam photos showed heavy usage. Hit spots that historically produce. Treat those as your “A” zones and work outward from there. Lower-percentage sections can wait.
Be Systematic
The guys who consistently stack sheds in the back of the truck aren’t lucky. They’re systematic. They log data and review winter patterns. Also mapped are food, bedding, and funnels. They build routes, and they execute. It’s no different than planning a rut hunt or laying out a food plot strategy. Digital scouting simply compresses the learning curve.
When shed season finally arrives, and you step out of the truck, you shouldn’t feel like you’re guessing. You should feel like you’re executing a plan. Your phone should already be loaded with pins marking food sources, bedding cover, funnels, and historical finds. You should know exactly where you’re starting and where you’re headed next. That confidence changes how you hunt sheds. You slow down in high-odds areas. You grid search more tightly, and you pay attention to detail. More often than not, you will walk out carrying bone.

Advertisement — Continue Reading Below
How to Build a Shed Hunting Map
Shed hunting success isn’t random; it’s strategic. It starts long before boots ever hit the ground. With a map, a plan, and good glass, you should be stacking piles as you put on the miles.
WHY OUR ARTICLES/REVIEWS DO NOT HAVE AFFILIATE LINKS
Affiliate links create a financial incentive for writers to promote certain products, which can lead to biased recommendations. This blurs the line between genuine advice and marketing, reducing trust in the content.